Primary Menu
Pages
Home
Blog
Cruisin’ with Susan
Shop With Me
Join My Amazing Team
Pages
Home
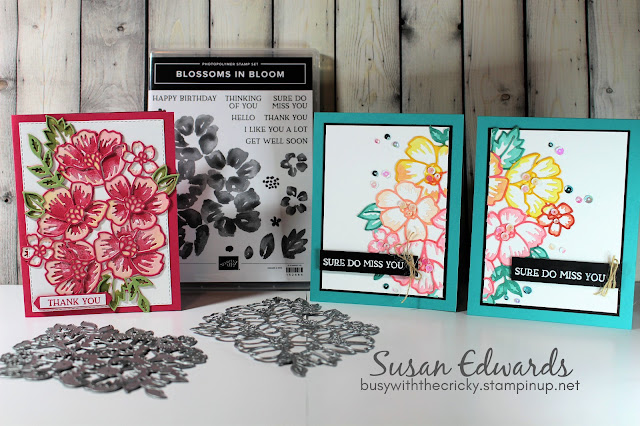
Blossoms in Bloom
SIMPLY SKETCHIN' SATURDAY FACEBOOK GROUP
August Ink & Inspiration Design Team Blog Hop
Blossoms in Bloom Inspiration
Blossoms in Bloom Bundle
next
Subscribe to:
Posts (Atom)