Dandelion Wishes with Stampin' Up


Hello friends. Today I am going to tell you about my conversation to a Stampin' Up Demonstrator. Those of you who have followed my blog for years know that I was a CTMH consultant for six years. While I liked their products, I lost my consultant status last summer. I chose not to renew.

I have an amazingly talented friend (okay, several amazingly talented friends) who are Stampin' Up Demonstrators. I was encouraged and inspired, and decided to open my own Stampin' Up business. I love the stamps, the papers, the dies (!), and the embellishments. I also adore many of their tools. Hence, my new status. 


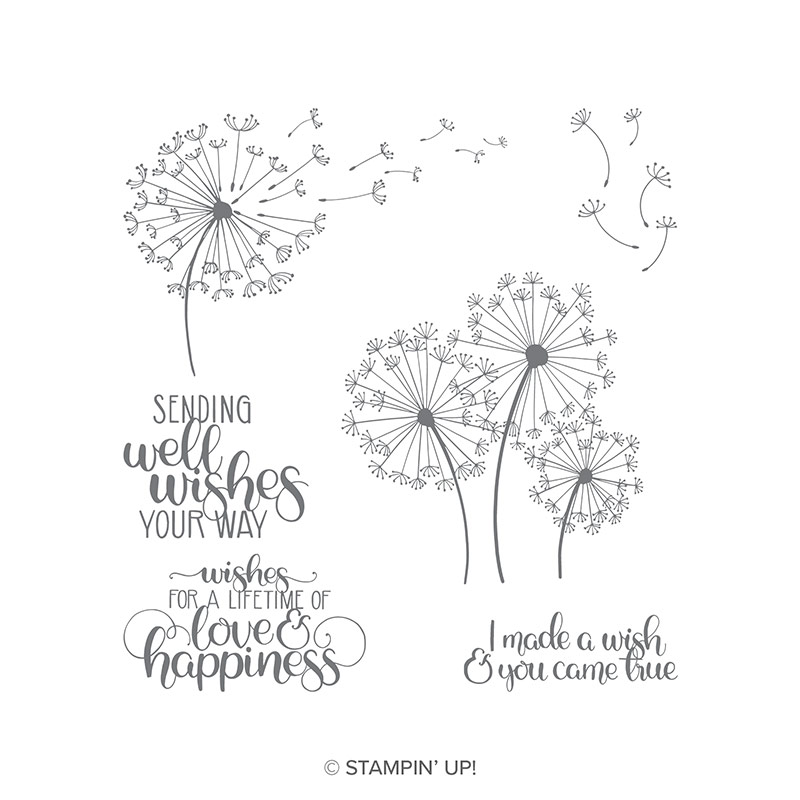
I made the two cards above for a Stampin Up training event card swap. I am pleased to tell you that I entered the top card into the swap and it won! I do love this stamp set, Dandelion Wishes. It is perfect for both card making and scrapbooking. 

What I love about these cards, other than the colors, is the versatility. They would make wonderful birthday cards, sympathy cards, and thank you cards - to name a few. So many uses for these cards and this stamp set!

Shop with me at Stampin Up!

*Anyone who purchased this stamp set and at least one other item through my Stampin' Up! on-line store will receive instructions from me via email on how to create these two cards.*

Products Used:

Dandelion Wishes 146747
dandelion wish stamps


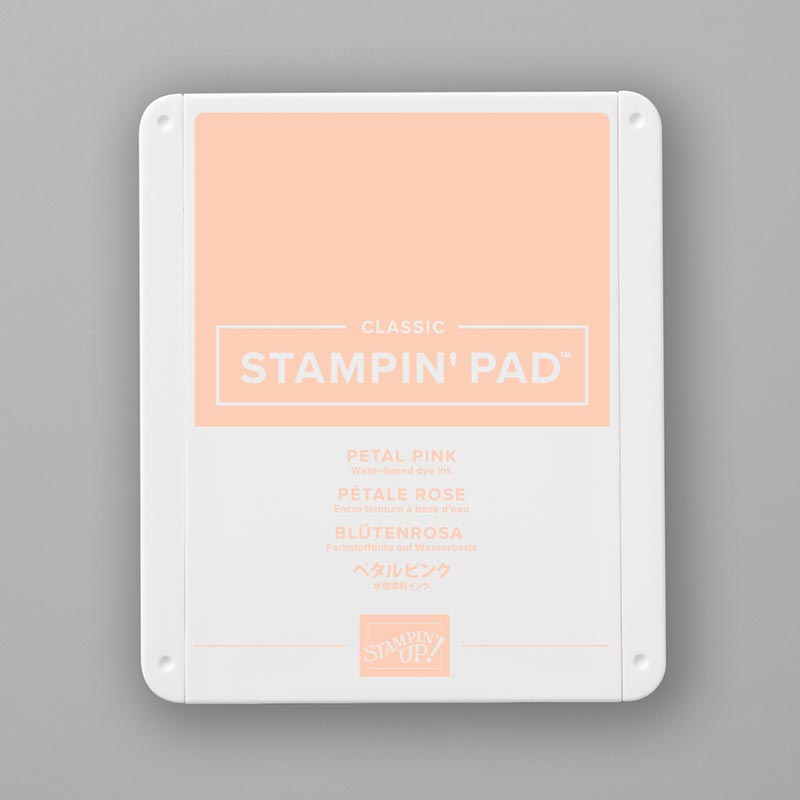
Petal Pink Ink Pad 147108

pink stamp pad


Pool Party Ink Pad 147107

pale blue ink pad


Pool Party Ink Pad 101406

black ink pad


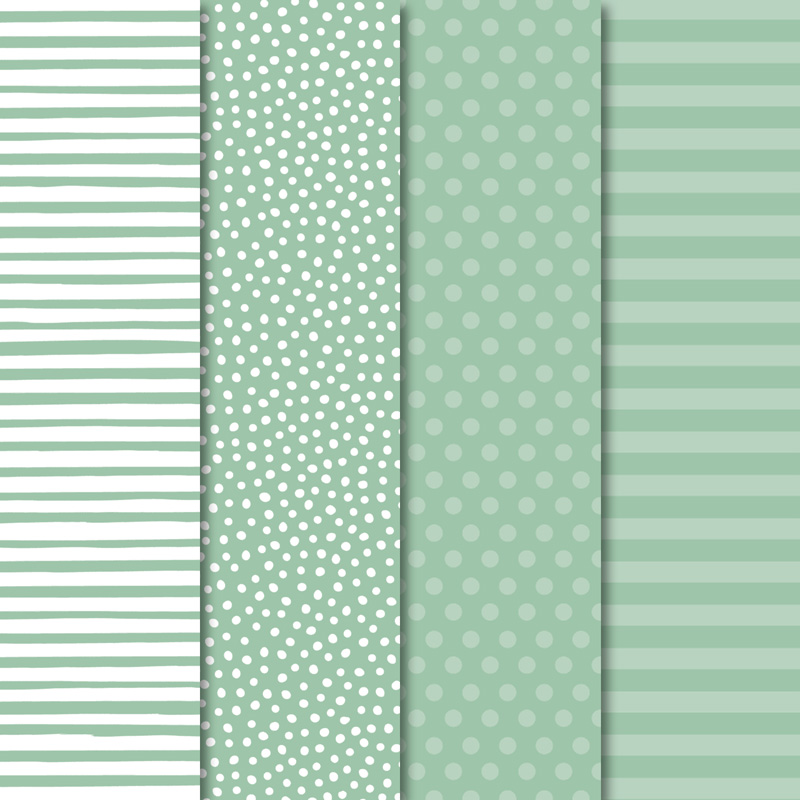
Subtles 6 x6 Designer Series Paper (40 sheets - 10 Colors) 146966

multi-pattern paper


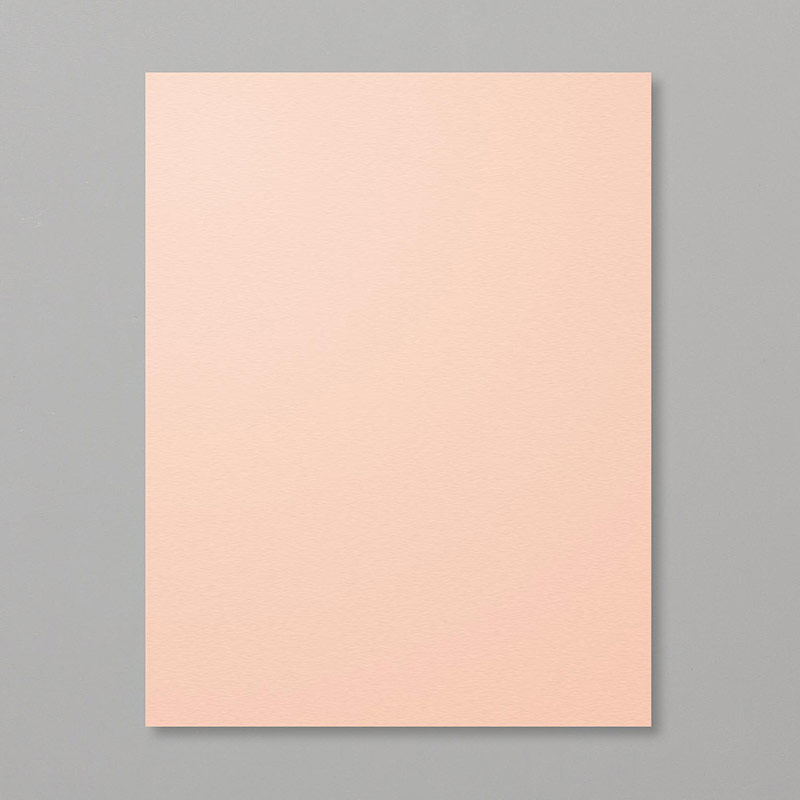
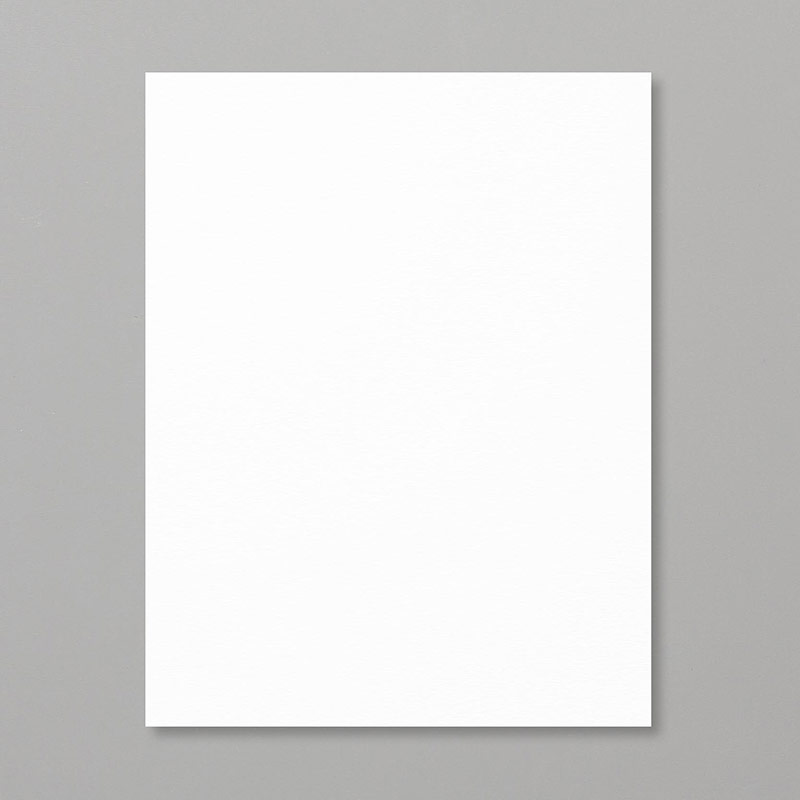
Petal Pink 8.5 x 11 Cardstock 146985

light petal pink paper


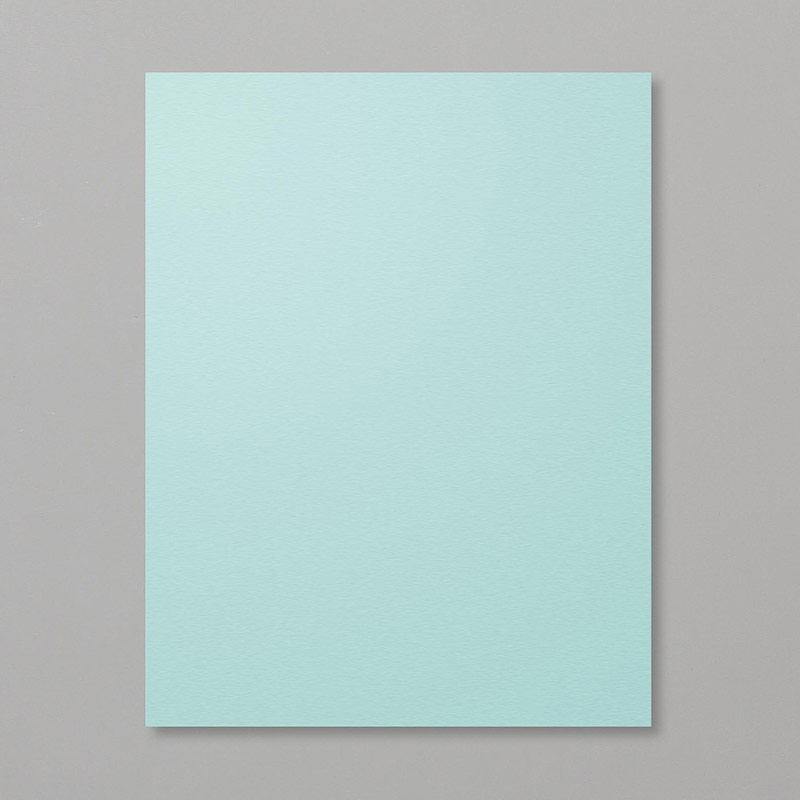
Pool Party 8.5 x 11 Cardstock 122924

light blue paper


Layering Circle Framelets Dies 141705

layering circle dies


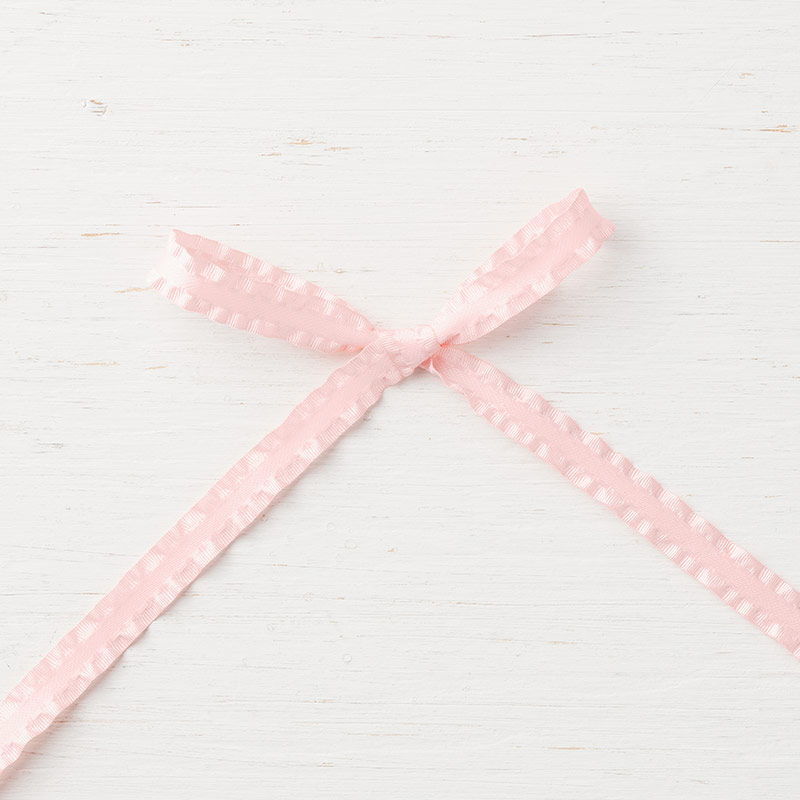
Powder Pink 3/8" Mini Ruffle Ribbon 146949

pink 3/8" ruffled ribbon


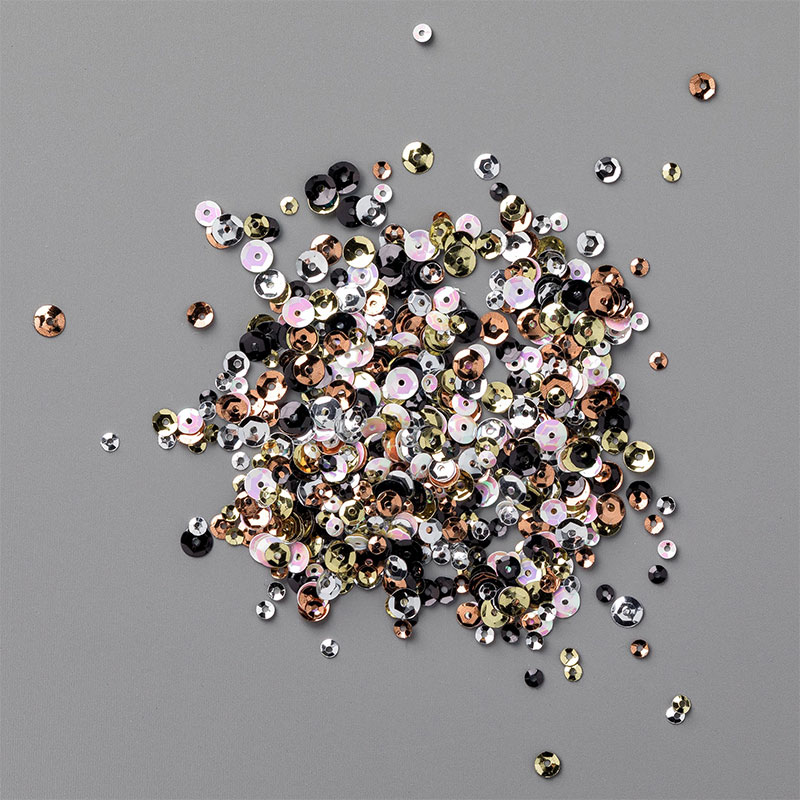
Metallic Sequin Assortment 144214

assorted metallic sequins


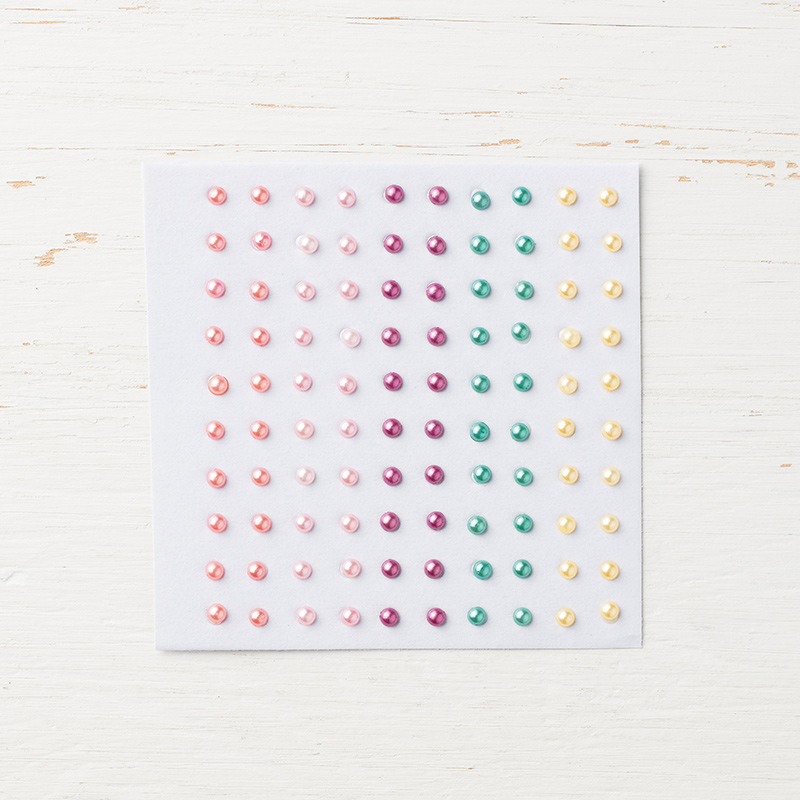
Share What You Love Artisan Pearls 146927

colorful artisan pearls


Whisper White 8.5 x 11 Cardstock 100730

white paper


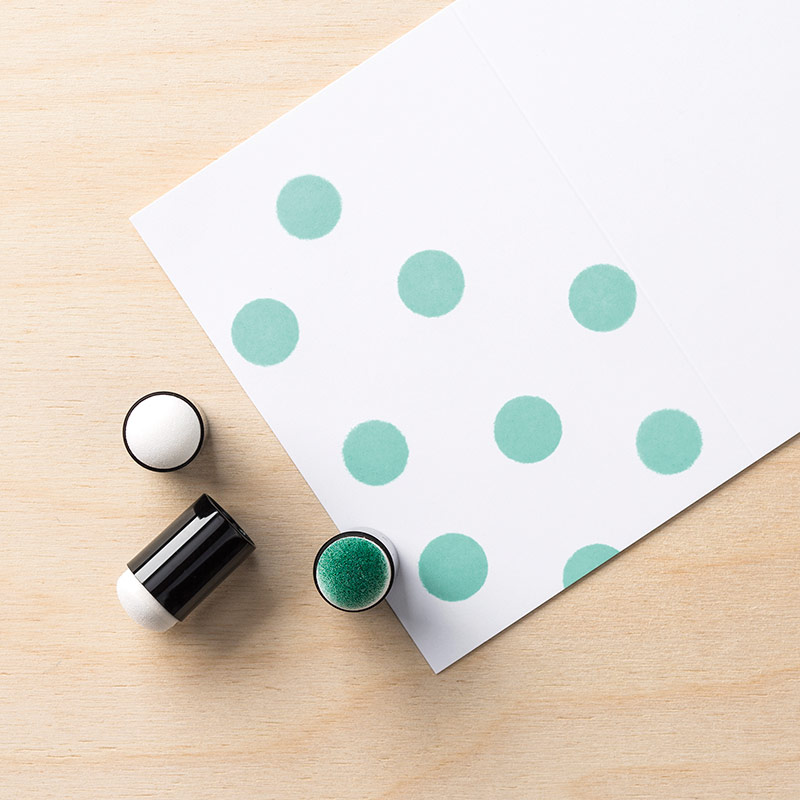
Sponge Daubers 133773

sponge dauber


Shop with me at Stampin' Up! 

Returning From A LONG Hiatus


Greetings friends. I have been missing from the blogosphere for 9 months and in that time I have experienced a whirlwind of life. While I did need a break from blogging and the Design Team, I never intended to stay away this long.  

Back in July when I took a break, I was enjoying dollhouse building and was taking a break from papercrafting. All of that has reversed. I am back to papercrafting and loving it every bit as much as ever.


As most of my readers know, my mother lived with us for nearly five years as she struggled through Alzheimer's disease. Around Halloween last year mom fell and broke her hip. She did very well with the surgery and the rehab. However, after she was home, she had a stroke in December. We called in hospice at New Years. Mom passed away peacefully at home with my uncle and I by her side on February 13. 

Since mom's passing I have been slowly reclaiming my house and my life. One of the issues with paper crafting while mom was with us, especially in the last couple of years, was that my scraproom is located off of the back hallway and I could not keep an eye on her and scrapbook. I took over the dining room, but that too had limitations. Since her passing I have redone redone her room, purchased new furniture, etc. I have cleaned all signs of craft life from the dining room. And I have made great headway on reorganizing my scrap room.


I removed my old L-shaped glass topped desk from the space and replaced it with this set up. I purchased the cube set with the attachable desk piece, then I added another 4 x 1 cube set to the top. I finally - literally years later - purchased legs from my scrapbox easy view desktop.

  
As you can, I have made a lot of headway in organizing. However, I still have some untouched areas (bottom row of the cubes, under the desk, etc). 
  

I do not want for this post to be too long and filled with too much information, so I will close for now. I do have SO MUCH MORE to share, including my latest paper crafting creations and adventure. 

The Completed Willowcrest Estate


Hello friends! Guess what? I finally finished the Willowcrest dollhouse I have been building. I have been doing a happy dance for a couple of days now.

The last time I posted I promised to share the inside of the dollhouse.  I am doing that today as well as sharing the newly completed landscaping.

Below is a photo of the entire house interior. There are six rooms, an entryway, and a second floor landing.  Unlike my last dollhouse, this one actually has stairs! I did not leave them out.  Ha.  I did, however, rearrange the floor plan.


As I said, above is my version of the dollhouse interior. Below is a Pinterest photo of how the dollhouse was designed to look.  

(Note: Not my photograph)

As you can see, I took several redesign liberties with the interior. Beginning with the first floor, I removed the wall dividing the original kitchen from the entryway.  My thoughts were WHY put so much effort into the winding stairway and entry if it cannot be seen. I also removed the door between the kitchen and living room.  The middle wall on the bottom is designed to have an angled wall beyond the door.  I hated that angled wall. Not only did it make no sense, it was designed to have a fireplace on the backside, which really is not visible. So I not only removed the door, I built a completely new STRAIGHT-ish wall to divide the kitchen and living room.

In my new design it made no sense to have the entryway lead into the kitchen so I switched the living and kitchen areas, and built a partial wall to add a dining room behind the kitchen. Come in and check it out.


More of my living room and entryway.


The open stairway.


My blue and yellow kitchen and the pink dining room beyond.


In the photo below the stove, oven hood, and shelf are on the newly built almost straight wall. You can also see the divider wall I added to create the dining room.


The photograph below was taken from outside looking through the kitchen bay window.


The dining room.

All of the first floor windows feature decorative toppers on the molding.  I made the decorative elements myself using clay and molds.  


A view of the dining room arched opening leading to the entryway.


I made structural changes on the second floor as well.  If you look at the photo of the house as designed (second floor image below) you will see a large visual impairment near the middle-left side of the second floor. I did not like that little wall at all. I felt like it closed the view of the house.


By removing the little wall I took out the linen closet and the stairs to the third floor.  I almost rebuilt the stairs, using a square design similar to the first floor, limiting them to the left front corner. Instead, I omitted the stairs. 


Above is my version of the master bedroom. The cranberry micro print wallpaper coordinates with the cherub mural on the ceiling.


By deleting the stairs and the linen closet, my bathroom is larger than originally designed. I like it much better. I had to build a new wall to divide the bathroom from the landing. I moved the bathroom door further to the right to create more usable space on the bathroom wall.


Above - a view though the bedroom window to the second floor landing.

Below is the third floor of the house as originally designed. Again, I did not like it. I hated the chimney running up the middle of the room, eating up floor space, as well as the stairs opening and railings being in a awkward place. It left very little usable space in that large area.

Not only did I ditch the chimney and stairs, I made three additions. I added three window seats. The third floor windows each had a small alcove, again that I thought of as wasted space.  By building window seats the areas became more useful.


My version of the third floor.  At first I visualized this as the billiards room. And while that is still possible, it will be a decision made by the eventual owner.  I did, after all, build this house to sell. My version of the room leaves a large open space that can have many uses.


I am sure that as you looked at the rooms you noticed the ceilings. Each of the ceilings in the house is embellished on some way.  I like the interest this adds to the interiors.


I hope you liked the interior tour, including the descriptions of the changes I made to the house. Now let's move on to the landscaping.


I mounted the house on a 19" x 23.5" board. I painted the board gray to match the house trim. Once the house was positioned, I added grass around the front foundation to create a small lawn.  I also added a flowerbed to the front foundation. The right side of the house has ivy growing up the bay area.

Each front windows has flowers, as does the balcony. I added two planters to the front porch and affixed flower arrangements in them. A small cart rests at the end of the porch. 


I added a few battery operated light fixtures to the house. The carriage lanterns flanking the front doors match the style of the house. The lights, like all but one on the inside, attach to the house via magnets. In the living room the sconces attach to magnets behind the wallpaper. The magnets were affixed to the walls and ceilings, making the lights removable for moving the house.


Thanks for checking out my Willowcrest Estate dollhouse. If it does not sell before, I will be offering it for sale the first week of December at a Christmas craft show.  I hope to have four houses and many Christmas miniatures to offer.

Before you ask, yes, I do already have my next house planned. It will have a completely different look than anything I have done before. More on this later...

Dollhouse Build Update - Exterior Views


Hello friends! Welcome back for week five of my Willowcrest dollhouse build project. This week I am going to focus on the exterior, which as you can see in the the photo above, is completed. Before we start, you might also like to compare my version of this dollhouse with the actual kit I used. Below is a photo from the manufacturer of the kit. 


I removed the entire front porch roof, supports, and trim.  I also chose a different siding than the one used in the photo.  I used two packages of Magic Systems Magic Miniature Masonry - White Block pattern to create my exterior.  It may not have been the easiest choice, but I do like the end results. 

I made some additional changes to the window trim on the house. I wanted a more unique look so I molded, baked, and glazed my own window and door trim pieces. 


I also added a white "iron" trim to the tops of the bay windows as well as a garden feature to the side wall.


Another design change I made from the kit was to add a neutral colored  brick/stone masonry foundation. I like this additional texture and colors better than just a solid painted foundation.


I used slate colored vinyl floor tiles, cut with a craft knife, to create the slate roof.  And while overall I like the effect, the corner pieces are being difficult about gluing as tightly as I would prefer.


Finally, I made flower sprays and landscape edging for the house.  I think the flowers really dress the house up.  I also like the coach lanterns.  They are battery powered so that I did not have to wire this house.

And there you have it - the exterior of my Willowcrest dollhouse.  Next week I will share the details on the interior with you.  I confess that I still have several small tasks to complete on the inside of the house.

Dollhouse Build Project Update #4 - Very Late


Hello friends! Welcome back for week four of my Dollhouse building project update.  I have come a long, long way on this house, but there are still a lot of little details - plus the roof - to finish.  I am still debating with myself about a couple of decisions, but it should be finished in the next couple of weeks!


I have finished the majority of the stone work on the exterior, except for the quoin corners and the back of the house. I added the roof trim and the balcony just this week. 


Hello friends! Welcome back for week three


Let's enter through the front door and you 


The entryway leads to the stairs, then the living room.  If you turn left in the entryway, you will end up in the pink dining room.


The kitchen is 97% complete, but I am still working on the crown molding in the dining room.


When you go up the stairs you will come out on the landing outside the bathroom and the master bedroom.


The colors in the master bedroom look a little dark in this photo.  The paper is a very pretty burgundy print.  I love the mural on the ceiling.


The third floor is still coming along.  I have to build three window seats and add all of the molding, as well as finish the dormers.  This attic is painted a cream color, though the light makes the color appear more where here.


In addition to the other moldings I need to finish, I need to add white trim across the back edges of the floors and walls. The white trim will create a finished look.


I will give you one more look at the overall house.  Hopefully the next time you see the house the roof will be finished.


Not only do I need to finish the stonework on the foundation, I also still need to build the stairs and do a bit of landscaping.

Thanks for stopping by today to take a peek.